
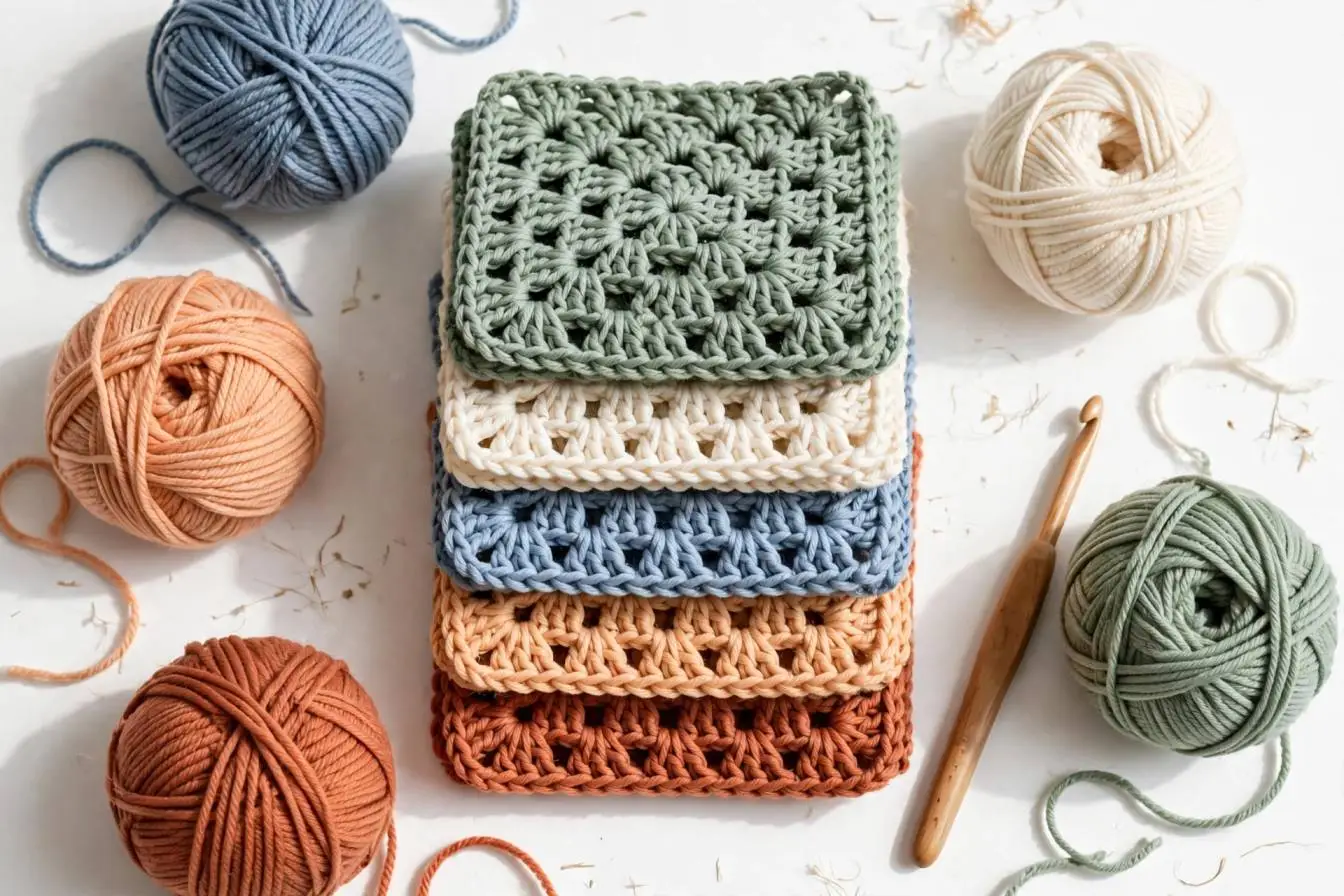
Simple Granny Square Pattern Using Basic Stitches And attractive just 5 step
A granny square is one of those crochet projects that never goes out of style. If you are looking for a simple granny square pattern that is beginner-friendly, this tutorial is for you. This simple granny square pattern uses only basic stitches.
With just a few basic stitches, you can create a neat square that works beautifully in blankets, bags, pillow covers, and many other handmade projects.
In this tutorial, you will learn how to crochet a granny square step by step, how to shape its corners, and how to keep your stitches looking even. You do not need advanced skills or complicated techniques to get started.
Table of Contents
What Is a Granny Square?
A granny square is a small crocheted square worked in rounds, usually starting from the center and growing outward. Traditional granny squares are made with groups of double crochet stitches separated by chain spaces.
These groups are often called clusters. As you add more rounds, the square becomes larger, making it easy to customize the size for different projects.
If you prefer a denser fabric with fewer gaps, you can also try solid granny square patterns. These use a different stitch arrangement to create a more filled-in appearance.
Materials You Will Need
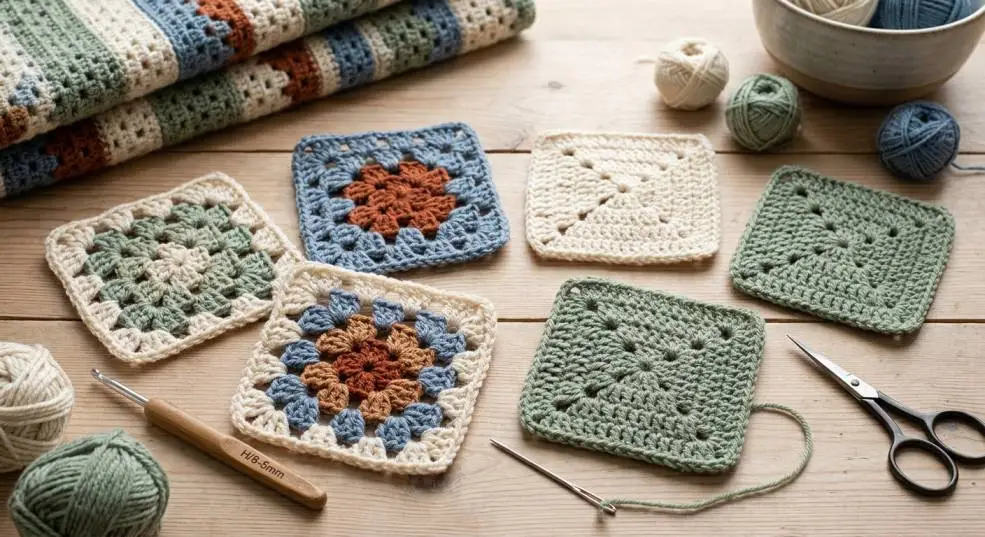
Before starting your free granny square pattern, gather a few simple supplies:
- Yarn: Worsted-weight yarn is a good choice for beginners.
- Crochet hook: Use the size recommended on your yarn label.
- Scissors: For cutting the yarn.
- Yarn needle: For weaving in loose ends.
Cotton or acrylic yarn works well for practice. Choose a light or medium color so you can clearly see your stitches while working.
Simple Granny Square Pattern: Step-by-Step Instructions
This beginner-friendly pattern uses double crochet stitches, chain stitches, and slip stitches. Follow each round carefully, and remember that the chain spaces help create the corners of your square.
Step 1: Make the Center Ring
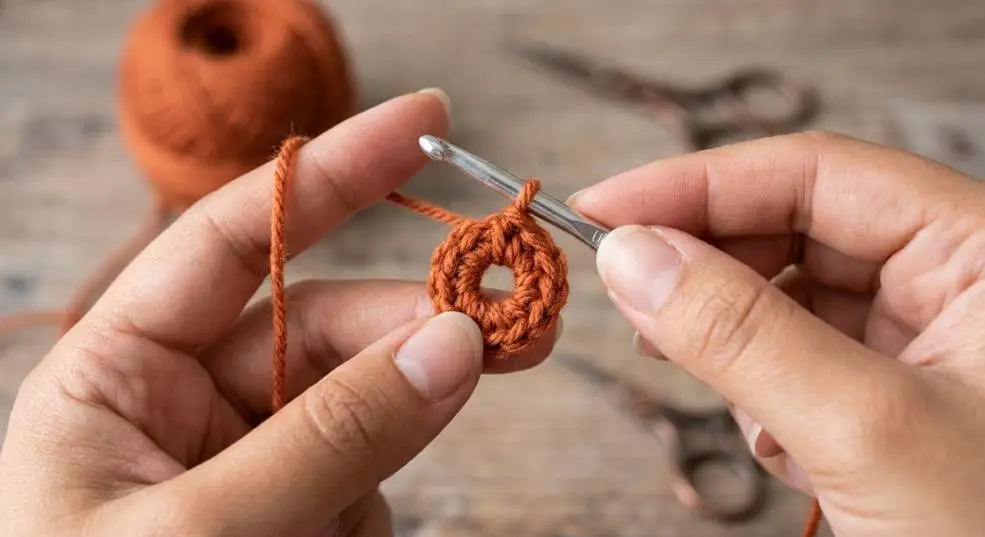
Start with a slip knot on your hook.
Chain 4, then insert your hook into the first chain and make a slip stitch to join the chains into a small ring.
If you already know how to make a magic ring, you can use that method instead. Both options create the center of your granny square.
Step 2: Crochet the First Round
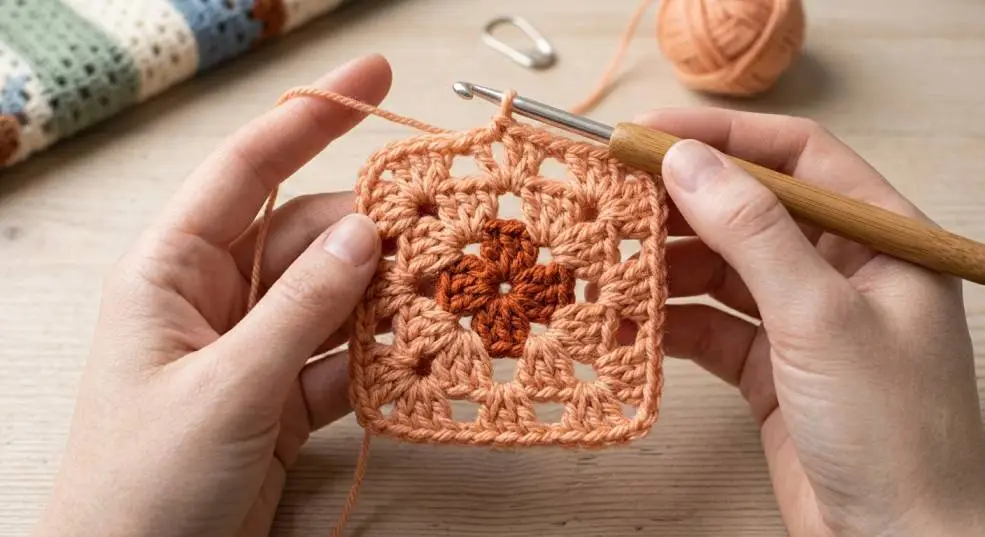
Chain 3. This counts as your first double crochet stitch.
Work 2 double crochet stitches into the center ring. You now have your first cluster of 3 double crochet stitches.
Next, chain 2 to create your first corner space.
Work 3 double crochet stitches into the ring, then chain 2 again.
Repeat this sequence until you have four clusters of 3 double crochet stitches, with a chain-2 space between each cluster.
Join the round with a slip stitch into the top of the beginning chain-3.
You should now see a small square with four corner spaces. If it looks a little loose at this stage, do not worry. The next round will help define its shape.
Step 3: Start the Second Round
Slip stitch across to the nearest corner space.
In that corner, work the following sequence:
- Chain 3, counting as your first double crochet.
- Work 2 double crochet stitches into the same corner space.
- Chain 2.
- Work 3 more double crochet stitches into that corner space.
This creates two clusters separated by a chain-2 corner space.
Move to the next corner and repeat the same sequence. Continue until you have worked all four corners, then join the round with a slip stitch.
Your square should now look larger and more clearly defined.

Step 4: Add Another Round
As your granny square grows, the corners follow the same basic structure, but you will also have spaces along the sides.
Slip stitch to a corner space and work 3 double crochet stitches, chain 2, and another 3 double crochet stitches into that corner.
For each side space, work a cluster of 3 double crochet stitches.
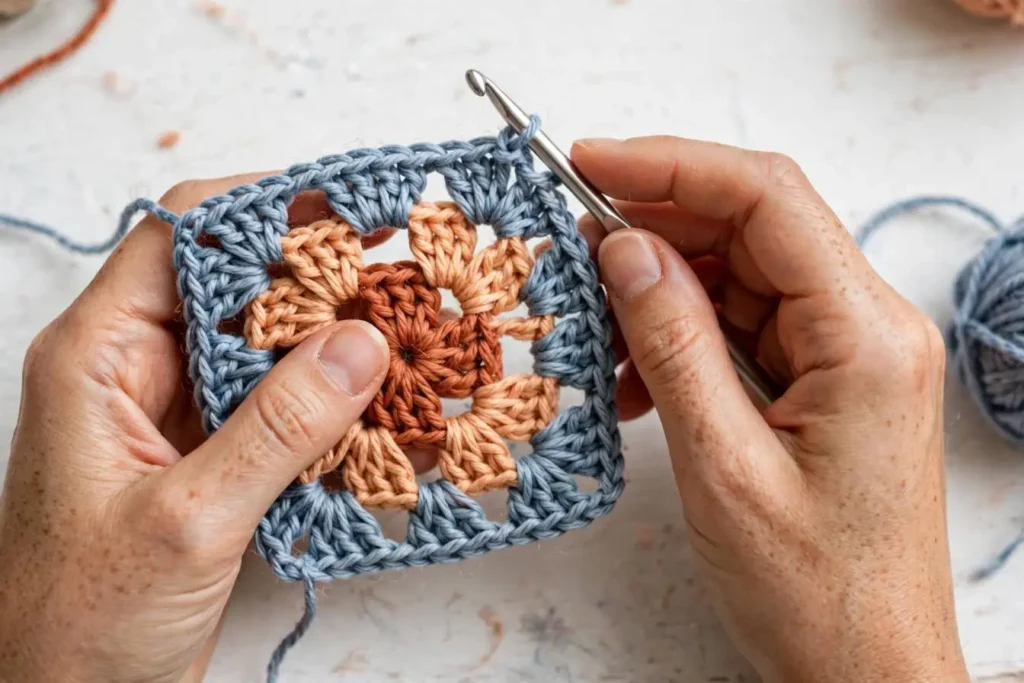
Continue around the square, working the same corner pattern at all four corners and one cluster into each side space. Join with a slip stitch to finish the round.
This simple method is the foundation of many traditional granny square instructions.
Step 5: Keep Growing Your Granny Square
Repeat the previous round until your square reaches the size you want.
With every new round, the number of side spaces increases. Add one cluster of 3 double crochet stitches to each side space, while keeping the corners the same: 3 double crochet stitches, chain 2, and another 3 double crochet stitches.
Try to maintain an even tension. Pulling your yarn too tightly can make the square curl, while very loose stitches may leave it looking uneven.
If your square starts to bend or ruffle, check your tension and make sure you are placing the correct number of stitches in each space.
How to Make a Solid Granny Square
If you love the look of granny squares but prefer a fabric with fewer visible gaps, a solid granny square may be a better option.
Unlike the traditional pattern above, a granny square solid design typically uses double crochet stitches across the sides, with increases at the corners to keep the square flat.
The main idea is to maintain the square shape while filling in more of the space between the corners.
Solid granny squares are particularly useful for projects where you want a denser finish, such as cushion covers, baby blankets, or bags. Once you are comfortable with the basic pattern, trying different solid granny square patterns is an easy way to expand your skills.
What Can You Make With Granny Squares?
One of the best things about granny squares is how many ways you can use them.
Granny square blanket pattern: Crochet several squares in coordinating colors, then join them together to create a cozy blanket. You can make every square the same color or experiment with different combinations.
Crochet bags: Join a few squares to create a handmade tote bag, shoulder bag, or small pouch. Cotton yarn is a practical choice for a sturdy finish.
Pillow covers: Use matching squares for a coordinated look, or mix colors for a playful design.
Clothing and accessories: Granny squares can become cardigans, vests, scarves, and other wearable pieces.
Home decor: Smaller squares work well for coasters, decorative panels, and other creative projects.
The size of your finished square will depend on your yarn, hook, tension, and number of rounds.
Tips for Neat Granny Squares
A few small habits can make a big difference in the finished result.
- Count your clusters: Each corner should have two clusters of 3 double crochet stitches separated by a chain-2 space.
- Keep your tension consistent: Try not to pull the yarn too tightly or leave your stitches excessively loose.
- Use stitch markers: Marking the corners can help you find them quickly, especially when working larger squares.
- Check your shape: Lay your square flat after each round to see whether the edges are staying straight.
- Weave in your ends: Use a yarn needle to secure loose ends neatly when you finish.
Blocking your finished square can also help even out the edges and give it a more polished appearance.
Final Thoughts
This simple granny square pattern is an easy way to build confidence with basic crochet stitches while creating something useful. Once you understand how the clusters and corner spaces work together, adding more rounds becomes much easier.
Start with a small square, practice keeping your stitches even, and experiment with different yarn colors as your skills improve. When you feel comfortable with the traditional method, explore solid granny square patterns or use your finished squares in a granny square blanket pattern.
With a little practice, you will have a versatile crochet motif that can become part of countless handmade projects.
Ultimately, there are various forms and methods for creating a “granny square.” For this reason, I wanted to focus more lessons on this particular shape—as it serves as the foundation—and I suggest this article, which will help you gain a solid understanding of this topic.”Ultimately, there are various forms and methods for creating a “granny square.” For this reason, I wanted to focus more lessons on this particular shape—as it serves as the foundation—and I suggest this article, which will help you gain a solid understanding of this topic.”How to Crochet a Granny Square: 6 Easy Steps for a Beautiful Beginner Pattern“
“


One Comment
Comments are closed.